开源的Self-host服务、独自编写的服务部署流程
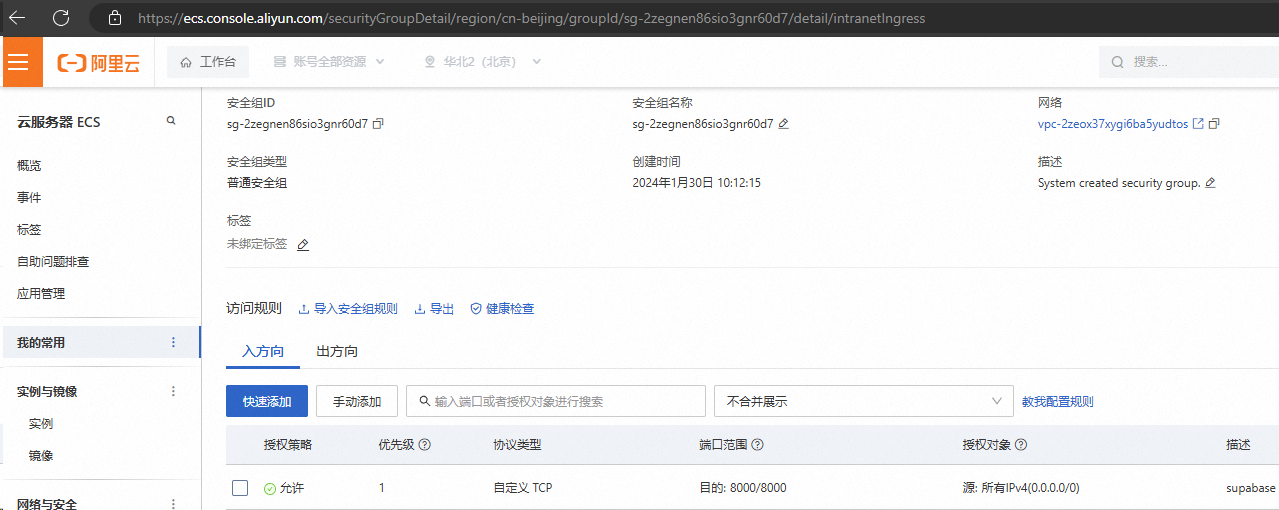
开放端口
阿里云或腾讯云
云服务器 - 网络与安全 - 安全组,入方向和出方向都开放8000端口
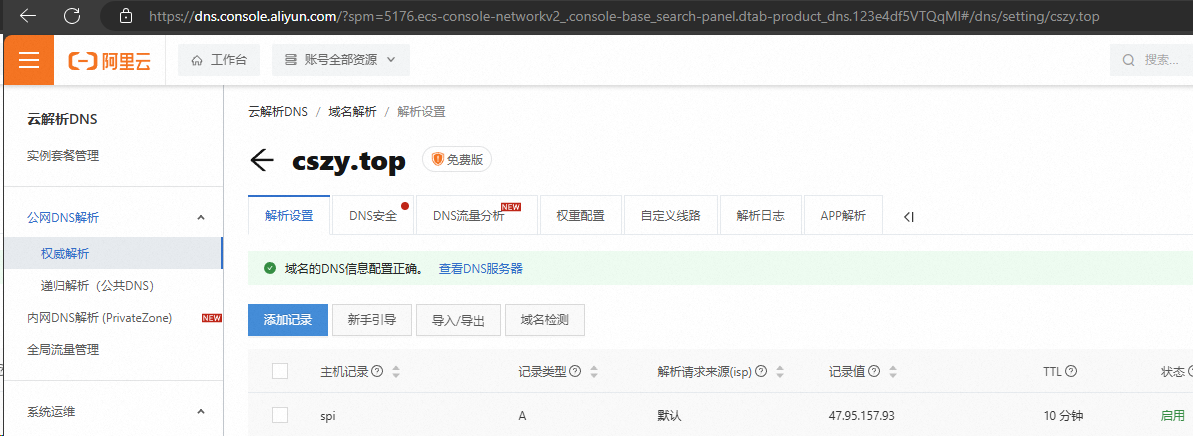
域名解析
主域名是博客,这里我配置spi二级域名作为服务的入口
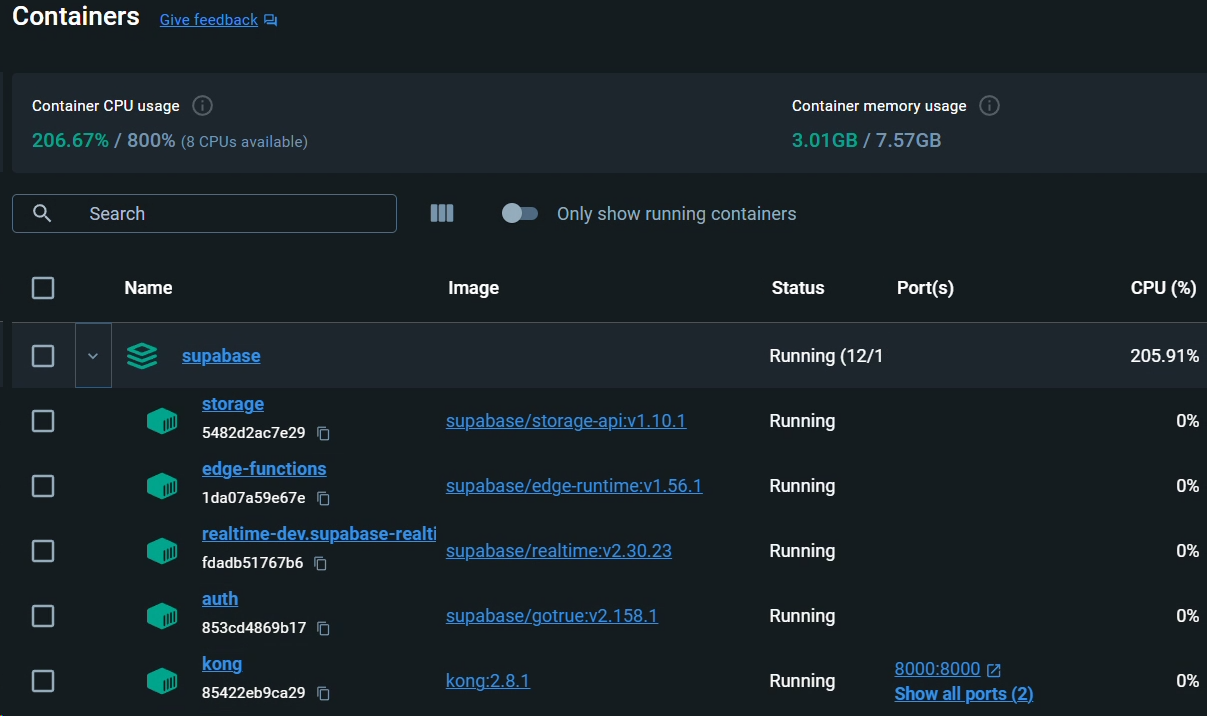
启动服务
服务使用前面配置的8000端口
内网穿透
如果type=http,怎remote_port无需配置,默认服务器frps中配置的端口。
如果type=tcp,需要制定remote_port,这里我按前面开发的8000端口。
1
2
3
4
5
6
7
8
9
10
11
12
13
14
15
16
17
18
19
20
21
22
23
24
25
26
27
28
29
30
31
32
33
|
[common]
server_addr = 47.1.1.93
server_port = 5443
token = *
[web]
type = http
local_ip = 127.0.0.1
local_port = 80
use_encryption = true
use_compression = true
custom_domains = nas.*.top
[appwrite]
type = tcp
local_ip = 127.0.0.1
local_port = 8480
remote_port = 8480
use_encryption = true
use_compression = true
[supabase]
type = tcp
local_ip = 127.0.0.1
local_port = 8000
remote_port = 8000
use_encryption = true
use_compression = true
|
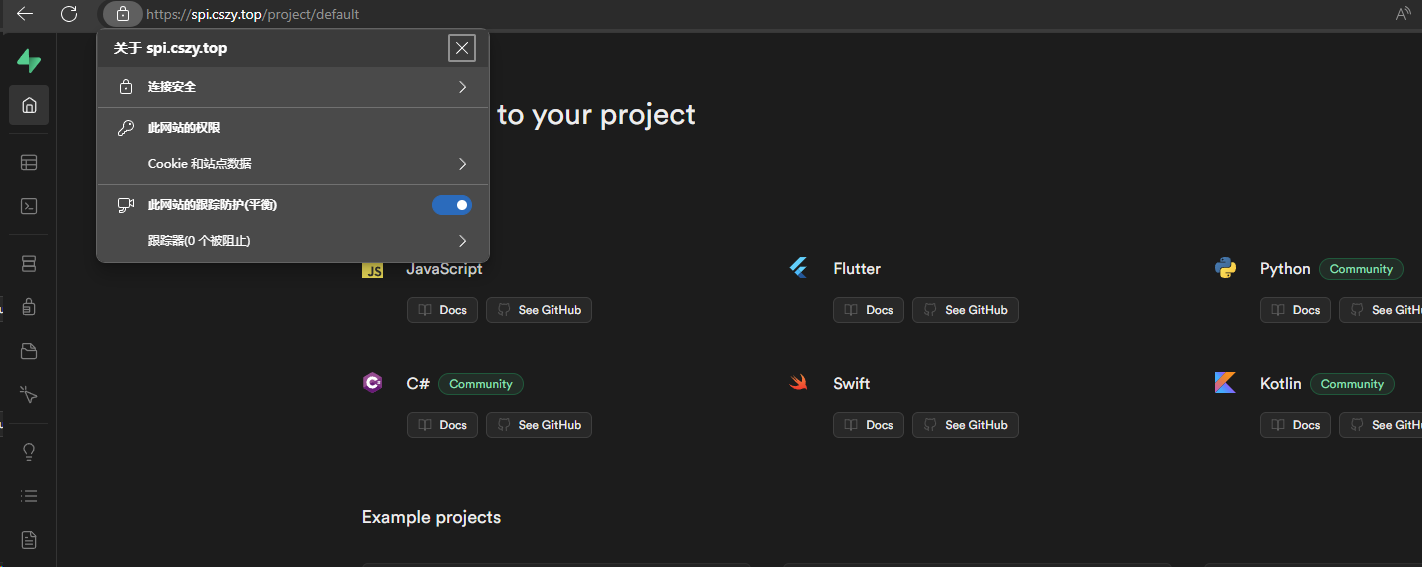
启动服务后,我们可以看到已经能正常访问了

下面我们将配置到二级域名
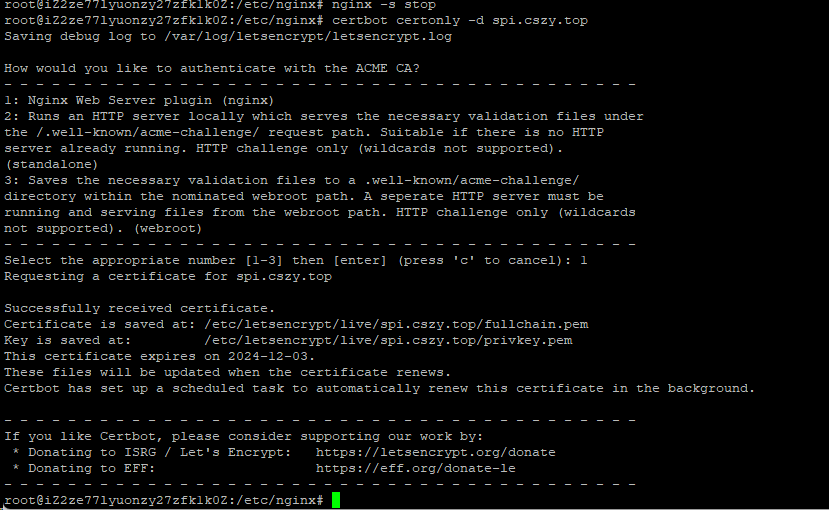
HTTPS证书
这里我使用的是certbot,详情见:申请SSL证书 - 日有所思,日有所得
1
2
| nginx -s stop // 先关闭nginx
certbot certonly -d spi.x.top // 生成证书
|
查看证书有效期及自动续订
1
2
| certbot certificates
certbot renew – dry-run
|
Nginx代理
- 找找nginx装在哪里

- 新增二级域名配置文件
1
2
| cd /etc/nginx/sites-available
cp default spi.x.top
|
- 编辑复制的文件
1
2
3
4
5
6
7
8
9
10
11
12
13
14
15
16
17
18
19
20
21
22
23
24
25
26
27
28
29
30
31
32
33
34
35
36
37
38
39
40
41
|
server {
listen 80
server_name spi.x.top
location / {
return 301 https://$host$request_uri
}
}
server {
listen 443 ssl
server_name spi.x.top
ssl_certificate /etc/letsencrypt/live/spi.x.top/fullchain.pem
ssl_certificate_key /etc/letsencrypt/live/spi.x.top/privkey.pem
include /etc/letsencrypt/options-ssl-nginx.conf
ssl_dhparam /etc/letsencrypt/ssl-dhparams.pem
add_header Strict-Transport-Security "max-age=31536000
location / {
proxy_pass http://47.1.1.93:8000
proxy_set_header X-Real-IP $remote_addr
proxy_set_header X-Forwarded-For $proxy_add_x_forwarded_for
proxy_set_header Host $host
proxy_http_version 1.1
proxy_redirect off
proxy_set_header Upgrade $http_upgrade
proxy_set_header Connection "upgrade"
client_max_body_size 4000M
client_body_buffer_size 128k
proxy_connect_timeout 3600
proxy_read_timeout 3600
proxy_send_timeout 3600
}
}
|
- 设置快捷方式(这样说好理解 : )
1
2
| cd /etc/nginx/sites-enabled
ln -s ../sites-available/spi.x.top ./
|

- 检查配置
如果没有配置证书文件,这里检测时会报错

如果配置正确则通过

- 重新nginx
大功告成
总结
如果直接是阿里云/腾讯云服务器上部署的服务,省略内网穿透这一步即可。
高配云服务器太贵了,家里服务器 amd5700u 8核16线程、内存32G、硬盘1T、功耗10W,性能比较高。
唯一缺点就是内网穿透导致的网络延迟。但是在100ms以内还可以接受。


